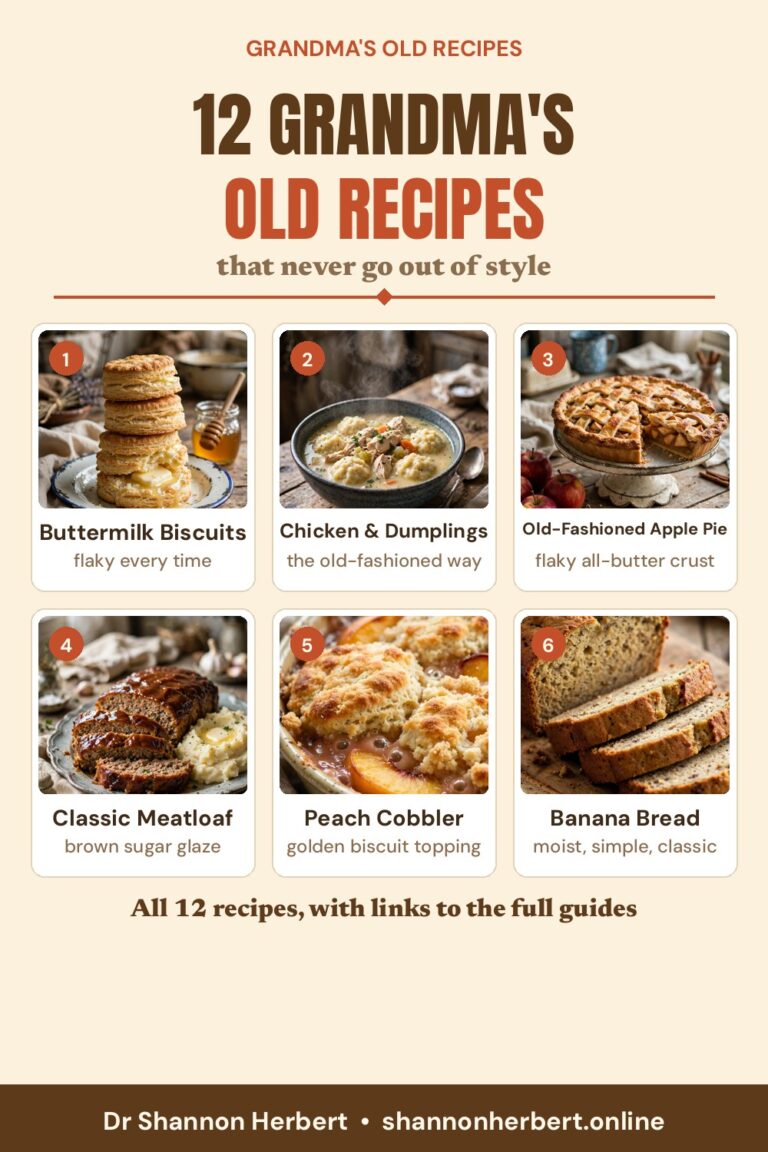
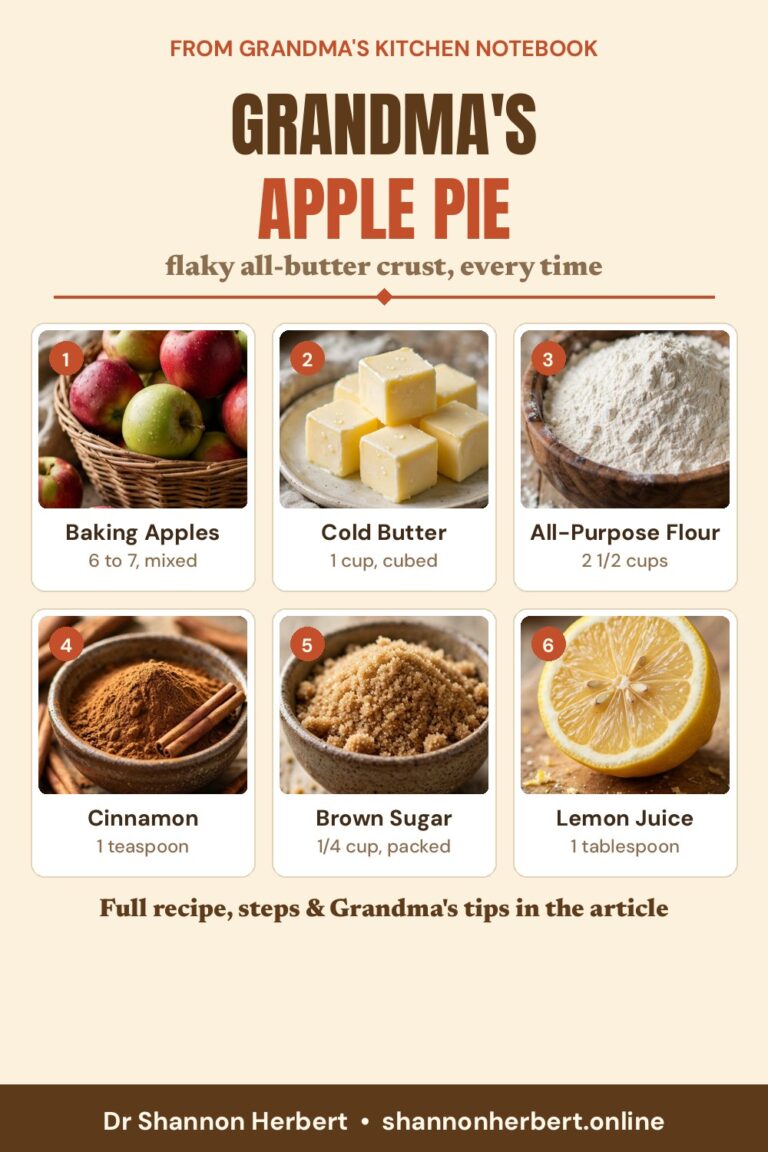
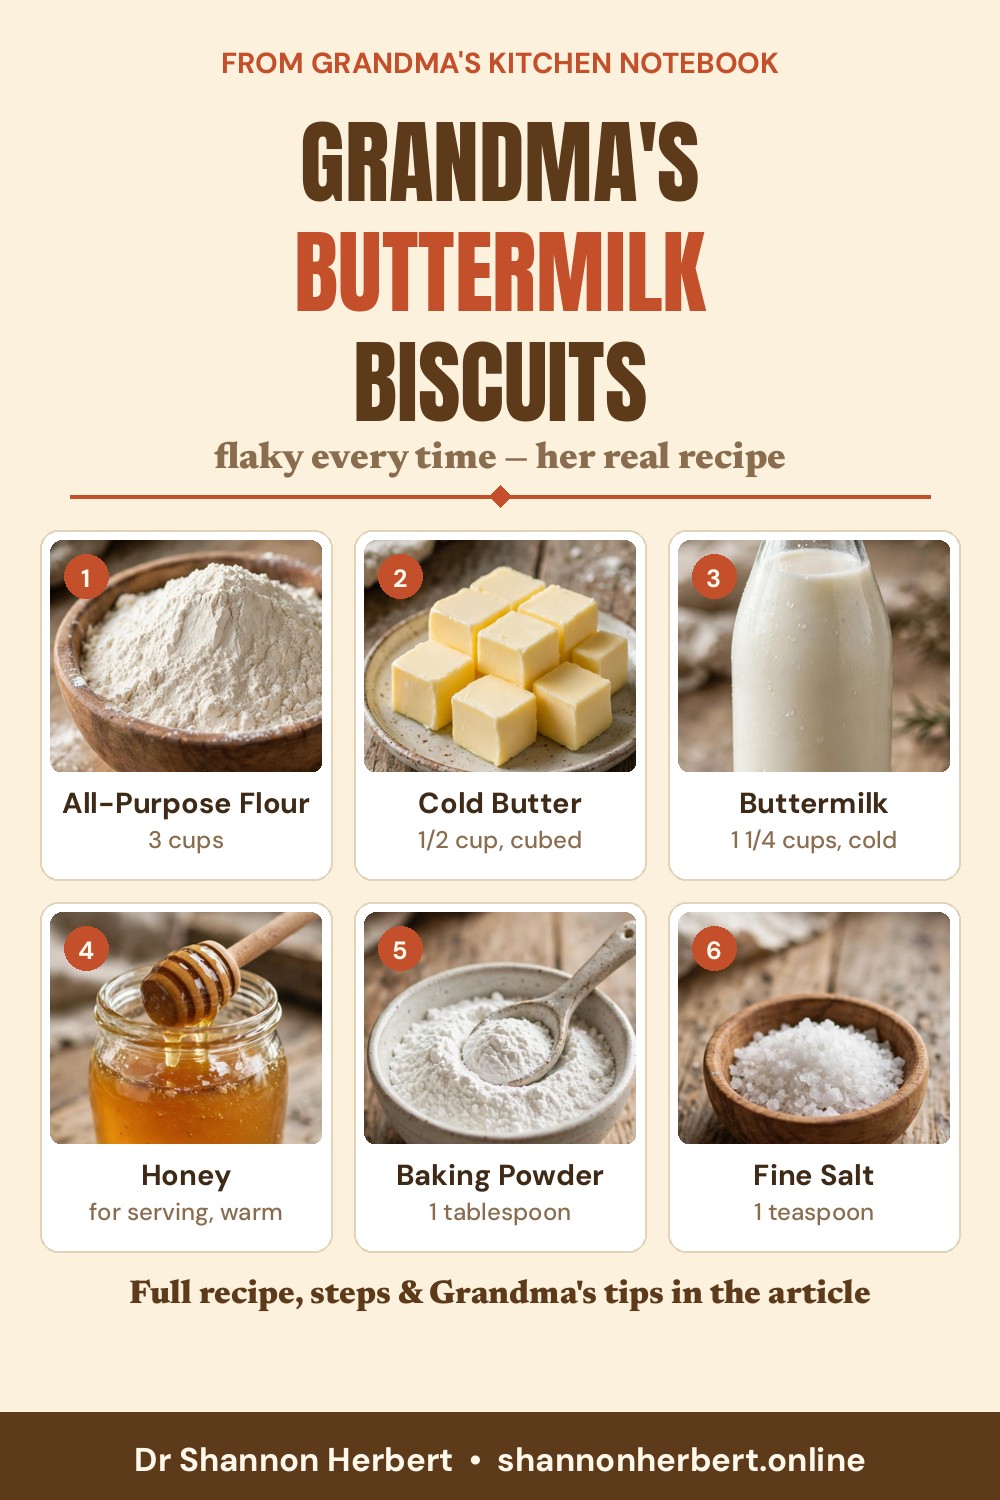
Grandma’s Old-Fashioned Buttermilk Biscuits (Flaky Every Time)
Storage and Reheating
Biscuits are at their absolute best within an hour of baking, but they keep well with a little care. Store completely cooled biscuits in an airtight container or a sealed bag at room temperature for up to 2 days. For longer keeping, refrigerate them for up to 1 week, well wrapped so they do not dry out or pick up flavors from the refrigerator.
To freeze baked biscuits, let them cool fully, arrange them on a tray, and freeze until solid, about 1 hour. Transfer to a freezer bag, press out the air, and freeze for up to 3 months. You can also freeze unbaked biscuits the same way: cut them out, freeze them solid on a tray, bag them, and bake straight from frozen at 450°F, adding 3 to 5 minutes to the baking time. Frozen unbaked biscuits are Grandma’s true secret weapon — fresh biscuits on a Tuesday with no more work than turning on the oven.
To reheat, warm baked biscuits in a 350°F (177°C) oven for 5 to 8 minutes, or 10 to 12 minutes from frozen, until heated through and crisp again. A microwave works in a pinch — wrap one biscuit in a slightly damp paper towel and heat for 20 to 30 seconds — but the texture will be soft rather than flaky. Never leave baked biscuits sitting out on the counter for more than a day; after that, the refrigerator or freezer is the safer home for them.
Simple Variations
Cheddar and chive biscuits. Fold 1 cup of shredded sharp cheddar and 3 tablespoons of snipped fresh chives into the flour mixture before adding the buttermilk. Wonderful next to tomato soup or a pot of beans.
Garden herb biscuits. Add 2 tablespoons of finely chopped fresh parsley, thyme, or rosemary to the dry ingredients, and brush the tops with garlic butter when they come out of the oven.
Whole wheat biscuits. Replace 1 cup of the all-purpose flour with whole wheat flour for a heartier, nuttier biscuit. The texture will be a little denser and the flavor deeper. This is one of those small, painless changes that really adds up, much like the ideas in our list of healthy food swaps.
A lighter everyday biscuit. Use low-fat buttermilk, swap half the butter for an equal amount of cold, grated butter-flavored shortening, and make the biscuits a little smaller. You still get a warm, homemade biscuit on the table — just a gentler version for ordinary days, which is the spirit of our simple nutrition tips: keep the foods you love, and adjust the details.
Drop biscuits for busy nights. Skip the folding and cutting entirely. Make the dough with an extra 2 tablespoons of buttermilk so it is soft enough to scoop, then drop heaping spoonfuls onto the pan and bake as directed. They look rustic, taste wonderful, and save ten minutes when supper is already late.
Sweet cinnamon biscuits. Add 2 extra tablespoons of sugar and 1 teaspoon of cinnamon to the dry ingredients, and brush the baked tops with melted butter and a dusting of cinnamon sugar. Grandma made these with the last scraps of dough and called them the cook’s reward.
Frequently Asked Questions
Why did my biscuits not rise?
Check the usual suspects in order: baking powder past its prime, butter that warmed up before baking, a twisted cutter sealing the edges, or an oven that had not reached full temperature. Also make sure you used both baking powder and baking soda — in this recipe they work as a team with the buttermilk.
Can I make the dough ahead of time?
Yes. Cut the biscuits, arrange them on the pan, cover tightly, and refrigerate for up to 24 hours. Bake straight from the refrigerator, adding a minute or two to the time. For longer storage, freeze the cut biscuits unbaked as described above and bake from frozen.
Can I use self-rising flour instead?
You can. Replace the all-purpose flour with 3 cups of self-rising flour and leave out the baking powder and salt (self-rising flour already contains both). Keep the baking soda in the recipe, since the buttermilk needs it, and proceed as written.
My biscuits came out tough. What went wrong?
Almost certainly the dough was worked too much after the liquid went in. Stir only until the flour disappears, pat and fold with a light hand, and remember that a slightly shaggy, imperfect dough makes the most tender biscuits.
What is the best pan for biscuits?
A cast-iron skillet gives the best bottoms and the tallest rise, because it holds heat so well. A heavy baking sheet works nearly as well. Thin, flimsy pans can scorch the bottoms before the tops brown, so if that is what you have, slide an empty second sheet underneath as insulation.
A Last Word From the Kitchen Table
Biscuits were never about perfection in Grandma’s kitchen. They were about a warm pan landing in the middle of the table and everybody reaching at once. Yours might lean a little, or come out in slightly different sizes, and that is exactly right — it means human hands made them. Bake a batch this weekend, put a few in the freezer for a busy morning, and if you are planning your week, these biscuits fit beautifully into the kind of simple, home-cooked routine laid out in our 5-day healthy meal plan. Then come back and bake them again. That is how a recipe becomes a tradition.
This article is for general information only and is not medical advice.