Grandma’s Old-Fashioned Buttermilk Biscuits (Flaky Every Time)
If you ever stood in a farmhouse kitchen on a Saturday morning, you know the sounds by heart: the soft thump of a biscuit cutter on a floured board, the rattle of a cast-iron skillet sliding into a hot oven, and the quiet scrape of a fork through scrambled eggs. In Grandma’s house, biscuits were not a special occasion. They were simply how the day started, and nobody ever wrote the recipe down because everybody just knew it.
Grandma measured with her hands and her eyes. A scoop of flour from the tin by the stove, a pinch of soda between two fingers, buttermilk poured straight from the jug until the dough “felt right.” Her biscuits came out tall, golden, and layered every single time, whether they landed next to sausage gravy, a bowl of soup, or a pot of her chicken and dumplings on a cold night.
This recipe is her method, finally written down with real measurements so it works in a modern kitchen. Nothing fancy, no special equipment, just a few simple rules she never broke. Follow them, and you will pull a pan of flaky, tender biscuits out of your oven about twenty minutes from now — the same biscuits that anchor our collection of Grandma’s old recipes, and the ones her grandchildren still ask for by name.
Why This Recipe Works
Old-fashioned biscuits are not difficult, but they are particular. Four small things make the difference between flat, tough pucks and the tall, layered biscuits Grandma served.
Cold fat makes the layers. When small pieces of cold butter hit a hot oven, the water in the butter turns to steam and pushes the dough apart into flakes. Warm, melted butter just soaks into the flour, and you get a dense biscuit instead of a layered one. This is why Grandma kept her butter in the coldest corner of the icebox and worked fast.
Buttermilk does two jobs. Its gentle acidity reacts with the baking soda to give the biscuits lift, and it tenderizes the dough so the crumb stays soft. It also adds that faint tang that makes a biscuit taste like a biscuit and not a plain dinner roll.
Folding builds the stack. Instead of kneading, you pat the dough out and fold it over on itself four or five times, the way you would fold a letter. Each fold doubles the layers, and those layers separate in the oven into the flaky sheets you can pull apart with your fingers.
A hot oven and a close pan. Biscuits need strong heat — 450°F — so they spring up before the butter melts away. And when the biscuits sit snugly against each other in the pan, they have nowhere to spread, so they climb upward instead and hold each other tall.
Ingredients
Makes 10 to 12 biscuits, depending on the size of your cutter.
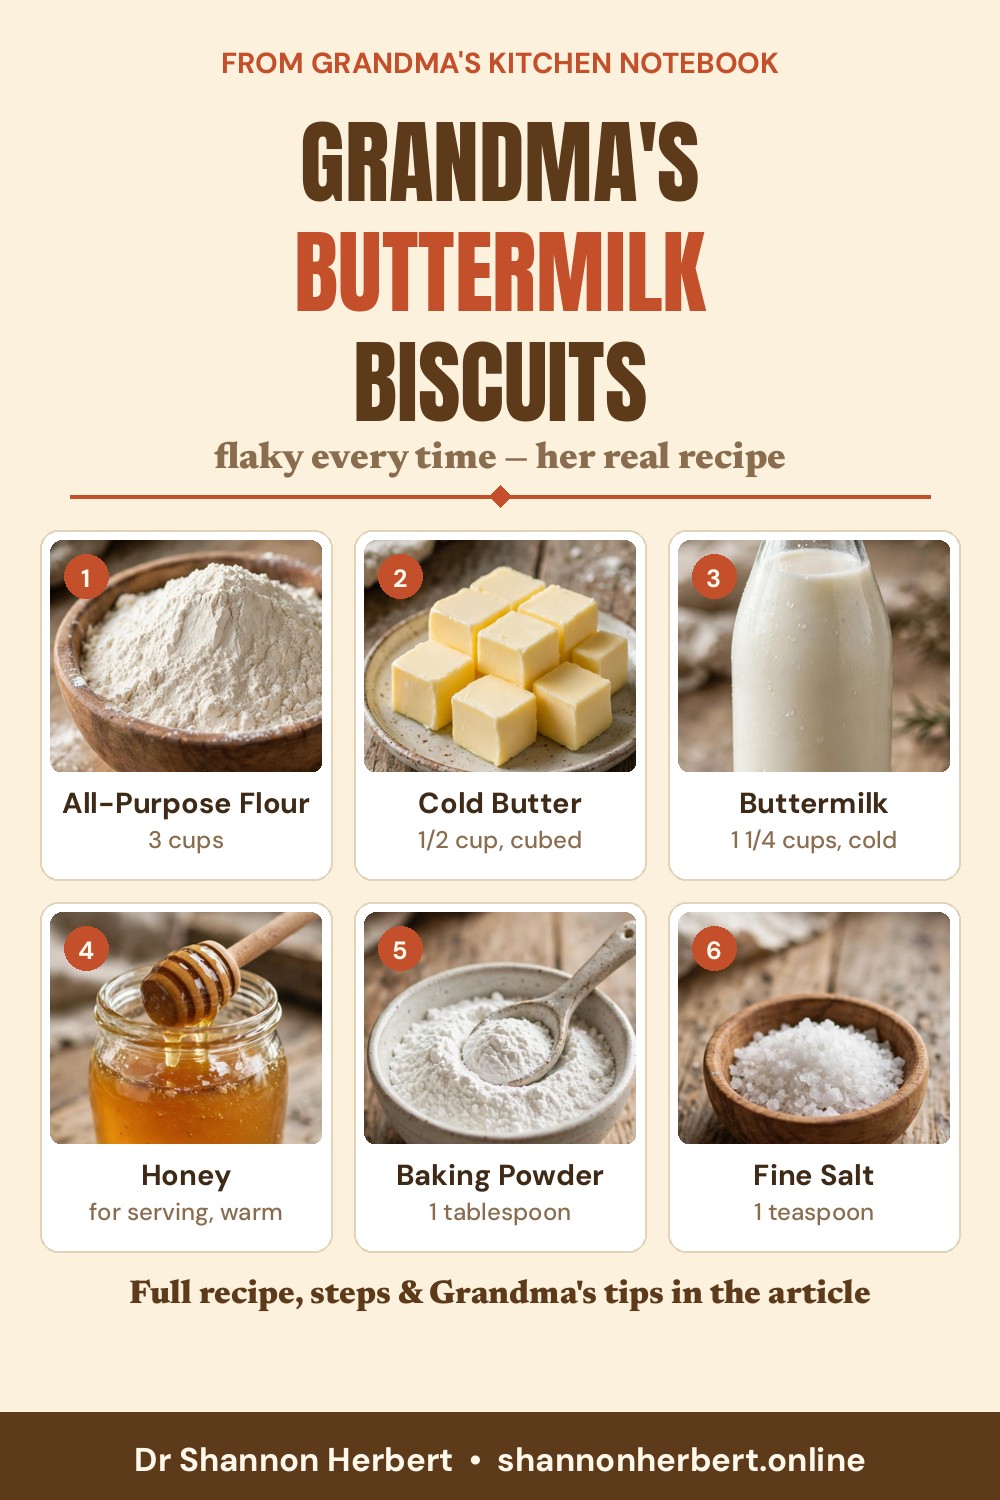
- 3 cups all-purpose flour, plus more for dusting the board
- 1 tablespoon baking powder
- 1 teaspoon granulated sugar
- 1 teaspoon fine salt
- 1/2 teaspoon baking soda
- 1/2 cup (1 stick) unsalted butter, very cold, cut into small cubes
- 1 1/4 cups cold buttermilk, well shaken, plus 1 to 2 tablespoons more if the dough seems dry
- 1 tablespoon melted butter, for brushing the tops
A note on flour: Grandma used whatever all-purpose flour the store carried, and it worked fine. If you can find a soft winter wheat flour, your biscuits will be a touch more tender, but it is not required. What matters far more is that the butter and buttermilk go in cold and the baking powder is fresh.
Method
- Heat the oven. Set the oven to 450°F (232°C) and place a rack in the center. Put a 10-inch cast-iron skillet or a rimmed baking sheet in the oven while it heats, if you like — a hot pan gives the bottoms a head start. Lightly grease the pan or line it with parchment.
- Mix the dry ingredients. In a large, wide bowl, whisk together the flour, baking powder, sugar, salt, and baking soda until everything is evenly combined. A wide bowl matters: it gives you room to work the butter in without overworking the dough later.
- Cut in the butter. Scatter the cold butter cubes over the flour. Using a pastry cutter, two knives, or just your fingertips, work the butter into the flour until the mixture looks like coarse crumbs with plenty of pea-sized pieces of butter still visible. Those visible pieces are your future layers, so do not work them away. Work quickly so the butter stays cold; if your kitchen is warm, slide the bowl into the refrigerator for 10 minutes before moving on.
- Add the buttermilk. Pour in the cold buttermilk and stir with a fork just until a shaggy, slightly sticky dough comes together and no dry flour remains at the bottom of the bowl. If there are stubborn dry patches, add another tablespoon of buttermilk. Stop stirring the moment the dough holds together — every extra stir makes the biscuits a little tougher.
- Pat and fold. Turn the dough out onto a well-floured board. With floured hands, pat it into a rough rectangle about 3/4 inch thick. Fold the rectangle in thirds, like a letter, then turn it a quarter turn and pat it out again. Repeat the folding and patting four or five times in total. You are not kneading; you are stacking layers. If the dough sticks, dust with a little more flour, but use a light hand.
- Cut the biscuits. Pat the dough out one last time to a thickness of about 3/4 to 1 inch. Dip a 2 1/2-inch round cutter in flour and press it straight down through the dough — do not twist. Twisting seals the edges and keeps the biscuits from rising in clean layers. Lift the cutter straight up and set the biscuit aside. Gather the scraps, pat them together gently once, and cut the remaining biscuits; these second-cut biscuits are never quite as tall, and Grandma always claimed them for herself.
- Arrange in the pan. Place the biscuits in the prepared skillet or on the baking sheet with their sides just touching. Touching sides help them rise tall and keep the edges soft, the way Grandma liked them. For crispier edges all around, leave an inch of space between them instead.
- Bake. Bake for 12 to 15 minutes, until the tops are a deep golden brown and the biscuits have risen well above the rim of the pan. The bottoms should sound firm when tapped.
- Finish and serve. Brush the hot tops with the melted butter. Let the biscuits rest in the pan for 2 or 3 minutes — they are fragile straight from the oven — then serve warm, split open, with butter, jam, honey, or gravy.