Grandma’s Old-Fashioned Apple Pie with Flaky Crust
There are certain smells that can stop you in your tracks, and for me it will always be apples and cinnamon drifting out of my grandmother’s kitchen on a cool afternoon. Her pie sat cooling on the windowsill in a chipped enamel dish, the top crust golden and crackled with sugar, while the whole house seemed to lean a little closer to the kitchen. Nobody ever asked when it would be ready. You simply knew to stay nearby.
Grandma never owned a stand mixer, a food processor, or a kitchen scale. She had a wooden rolling pin with worn handles, a paring knife she trusted more than any gadget, and flour permanently dusted across the front of her apron. Her apple pie was not fancy, and that is exactly the point. It was a pie made from a short list of honest ingredients, handled with patience, and it came out right every single time.
This is her recipe, written down the way she taught it: a tender, flaky, all-butter crust, a filling of tart and sweet apples with cinnamon and a touch of nutmeg, and a few small habits that make the difference between a good pie and the kind people ask about for years. If you have never made a pie from scratch, do not let the crust scare you. Grandma always said pie dough can smell fear, so we are going to walk through it calmly, one step at a time.
Why This Recipe Works
A great apple pie rests on three simple things: cold butter, the right apples, and enough time in the oven. Everything else is details, but the details are friendly ones.
The flakiness comes from keeping the butter cold and in visible little pieces. When those pieces hit the hot oven, they melt and leave tiny pockets behind, and those pockets are what make the crust shatter into layers instead of turning tough or bready. Warm butter blends into the flour like cake batter, and no amount of wishing will make it flaky afterward. Cold ingredients, a light hand, and a rest in the refrigerator are the whole secret.
The filling works because it uses two kinds of apples. Tart apples like Granny Smith hold their shape and give the pie its backbone, while sweeter apples like Honeycrisp or Gala soften into the sauce around them. A pie made with only soft, sweet apples turns to applesauce; a pie made with only tart apples can taste sharp and watery. The mixture gives you slices that hold together and still taste like a orchard in October.
A spoonful of flour tossed with the apples thickens the juices as the pie bakes, lemon juice keeps the flavor bright and the apples from browning while you work, and a long, patient rest after baking lets the filling set so the first slice comes out clean instead of flooding the plate. None of this is complicated. It is just a recipe that respects how the ingredients behave.
One more quiet detail deserves mention: the sugar is split between granulated and brown. The granulated sugar keeps the filling clean and bright, while the brown sugar brings a faint caramel depth that makes the apples taste more like themselves. It is a small thing, and nobody at the table will ever name it, but leave it out and the pie tastes a little flatter. Grandma’s recipes are full of these small things, and they add up.
Ingredients
For the flaky crust:
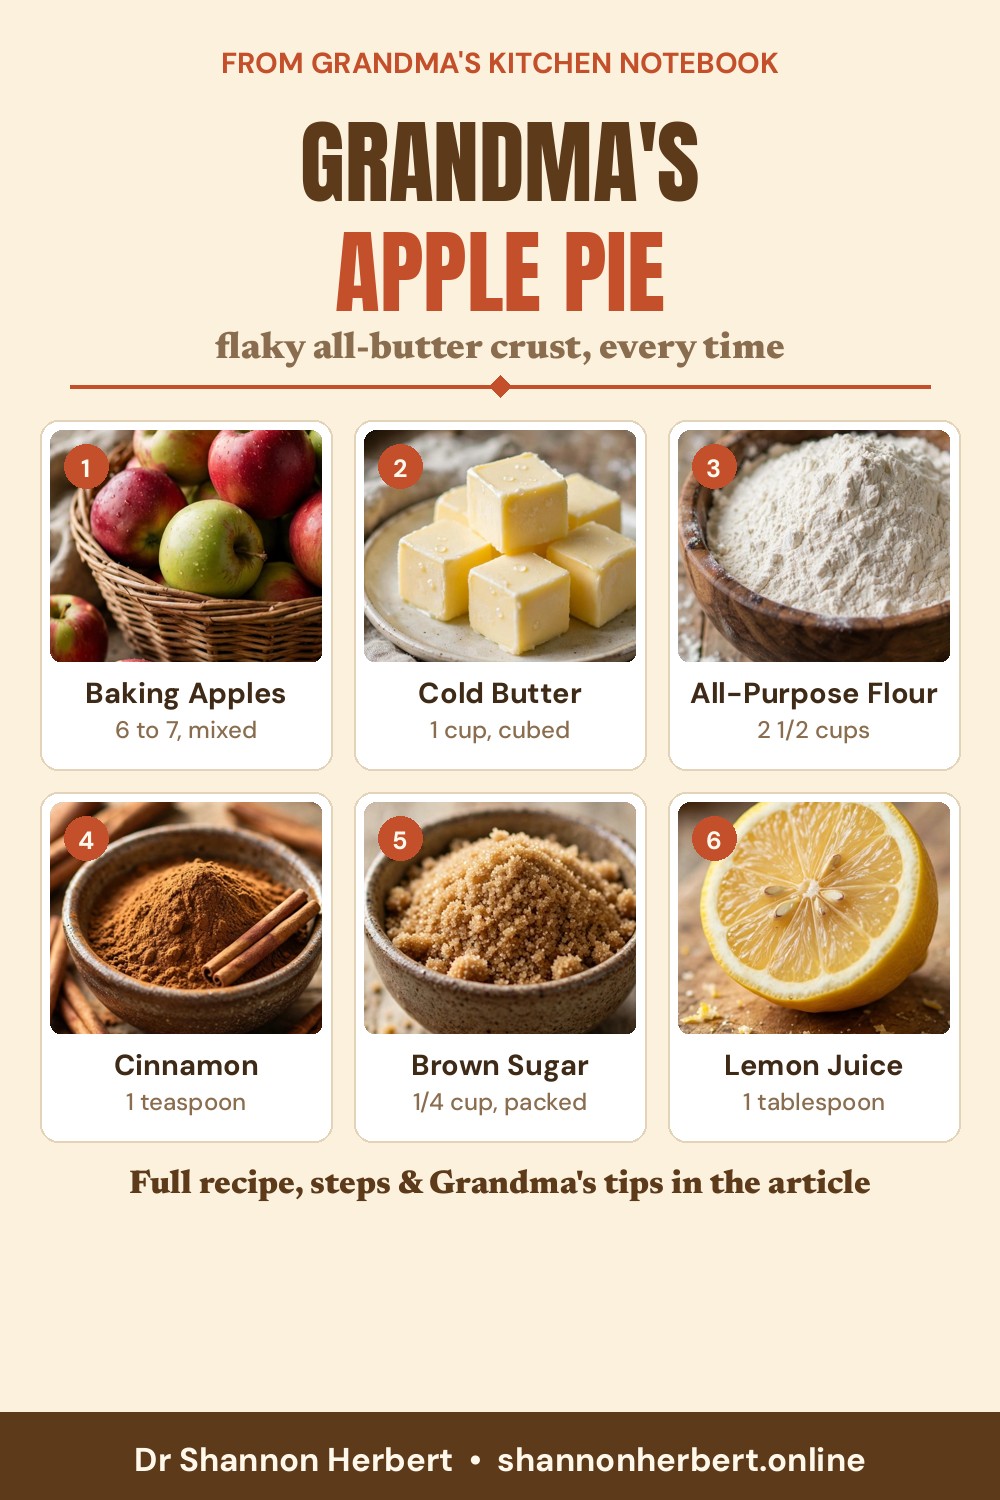
- 2 1/2 cups all-purpose flour, plus more for rolling
- 1 teaspoon fine salt
- 1 tablespoon granulated sugar
- 1 cup (2 sticks) unsalted butter, very cold, cut into small cubes
- 6 to 8 tablespoons ice water
- 1 teaspoon apple cider vinegar (optional, but Grandma swore it kept the crust tender)
For the apple filling:
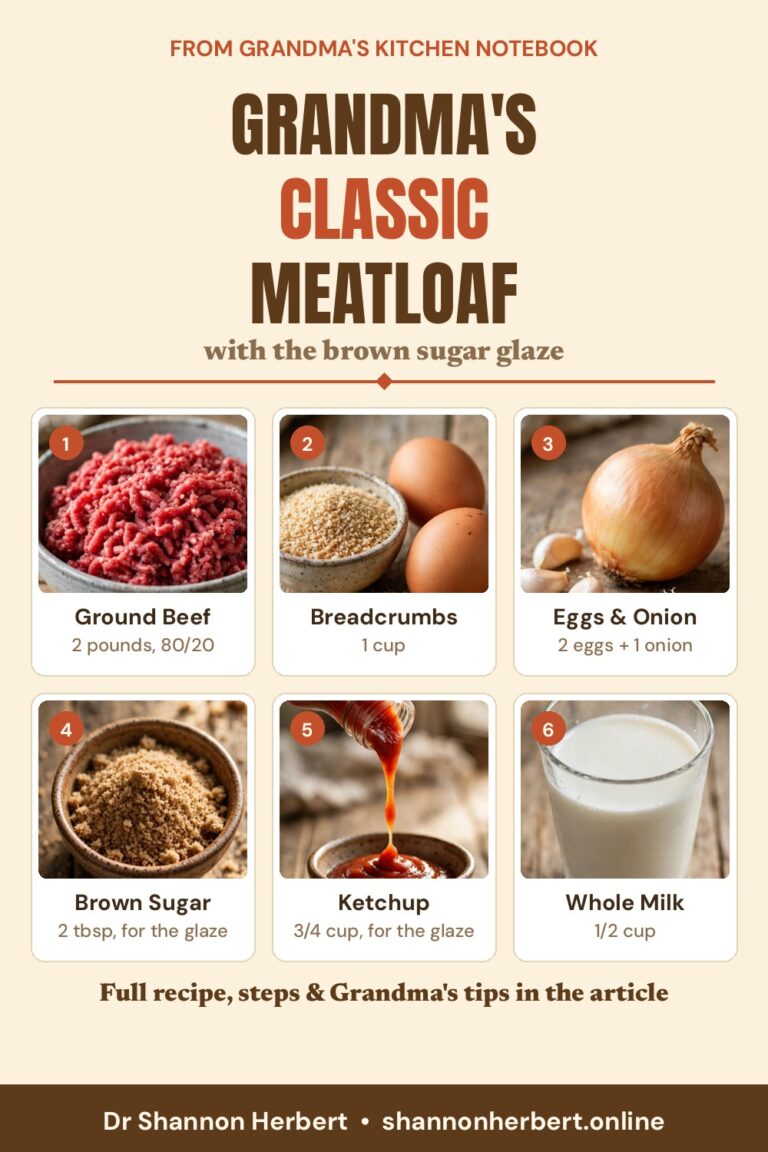
- 6 to 7 medium apples (about 3 pounds), a mix of Granny Smith and Honeycrisp or Gala
- 3/4 cup granulated sugar
- 1/4 cup packed brown sugar
- 2 tablespoons all-purpose flour
- 1 teaspoon ground cinnamon
- 1/4 teaspoon ground nutmeg
- 1/4 teaspoon fine salt
- 1 tablespoon lemon juice
- 1 teaspoon vanilla extract
- 1 tablespoon unsalted butter, cut into small pieces, for dotting on top
- 1 large egg beaten with 1 tablespoon milk, for the egg wash
- 1 tablespoon coarse sugar, for sprinkling (optional)
You will also need a standard 9-inch pie dish. Glass or ceramic both work fine; glass has the advantage of letting you peek at the bottom crust to check its color.
Method
1. Mix the dry ingredients for the crust. In a large mixing bowl, whisk together the flour, salt, and sugar until they are evenly combined. Scatter the cold butter cubes over the top. Everything from here on should move at a comfortable but steady pace, because the goal is to keep that butter cold.
2. Cut in the butter. Using a pastry cutter, two knives, or just your fingertips, work the butter into the flour until the mixture looks like coarse crumbs with plenty of pea-sized and even a few almond-sized pieces of butter still visible. Those bigger pieces are not a mistake; they are future flakes. If your hands are warm, use the pastry cutter, and if the kitchen is hot, slide the bowl into the refrigerator for 10 minutes before moving on.
3. Add the ice water. Stir the vinegar into 6 tablespoons of the ice water, then drizzle it over the flour mixture one tablespoon at a time, tossing gently with a fork after each addition. Stop as soon as the dough holds together when you squeeze a handful. It should look shaggy, not smooth, and you may not need all the water. Too much water makes a tough crust, so add it slowly and stop early rather than late.