Grandma’s Old-Fashioned Apple Pie with Flaky Crust
4. Form and chill the dough. Tip the dough onto a lightly floured counter and divide it in half. Press each half into a flat disk about an inch thick — flat disks chill faster and roll out far more easily than balls. Wrap each disk well and refrigerate for at least 1 hour, or up to 2 days. This rest relaxes the dough so it rolls without shrinking and keeps the butter firm.
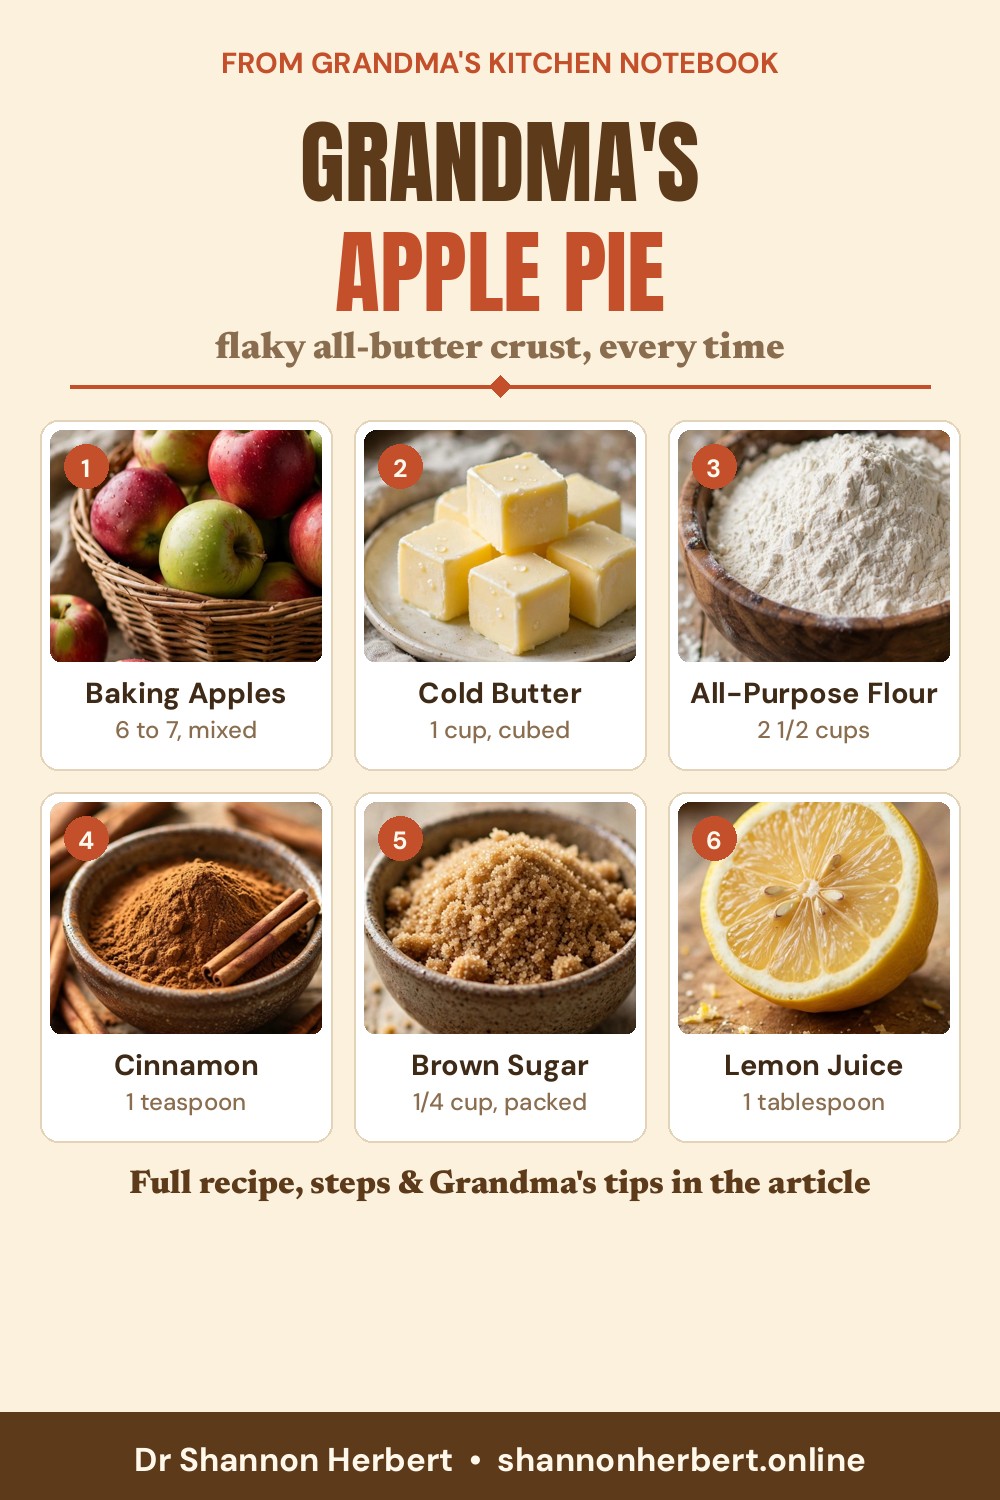
5. Prepare the apples. While the dough chills, peel the apples, cut them into quarters, and remove the cores. Slice each quarter into even slices about 1/4 inch thick; even slices cook at the same rate, so you will not get a filling that is mushy in one bite and crunchy in the next. Place the slices in a large bowl and toss them immediately with the lemon juice.
6. Season the filling. Add the granulated sugar, brown sugar, flour, cinnamon, nutmeg, salt, and vanilla to the apples. Toss everything together with your hands until every slice is coated and the mixture looks a little juicy. Let the bowl sit for 20 to 30 minutes. The sugar will draw out some of the apple juice, which softens the slices slightly so they pack into the crust without big gaps.
7. Roll the bottom crust. On a lightly floured surface, roll one disk of dough from the center outward into a circle about 12 inches across and 1/8 inch thick, turning the dough a quarter turn now and then so it does not stick. Roll the dough loosely around your rolling pin, lift it over the pie dish, and unroll it into place. Ease it gently into the corners without stretching — stretched dough shrinks back in the oven and pulls the crust down the sides.
8. Fill the pie. Give the apples one last toss and spoon them into the crust, packing them in snugly and mounding them slightly in the center. Pour any juices left in the bowl evenly over the top, then scatter the small pieces of butter across the filling.
9. Roll and add the top crust. Roll the second disk the same way and lay it over the filling. Trim the overhang of both crusts to about 1/2 inch beyond the rim of the dish, fold that edge under itself, and crimp it with your fingers or the tines of a fork to seal. Cut 4 or 5 slits in the top crust with a sharp knife so steam can escape; without vents, the steam will force its way out through the edges and take the juice with it.
10. Egg wash and chill. Brush the top crust lightly with the egg wash and sprinkle with coarse sugar if you like a sparkly, crackly finish. Place the whole pie in the refrigerator for 15 to 20 minutes while the oven heats. A cold pie going into a hot oven is one of the surest roads to a flaky crust.
11. Bake. Set a rimmed baking sheet on the lowest rack of the oven and heat the oven to 425°F. Place the pie on the hot sheet — it catches drips and helps the bottom crust brown. Bake for 20 minutes, then reduce the heat to 375°F and bake for another 35 to 45 minutes, until the crust is deep golden and the filling is bubbling thickly up through the vents. If the edges brown too quickly, cover them loosely with strips of foil. The bubbling matters: those slow, thick bubbles in the center tell you the flour has done its work and the filling will set instead of running.
12. Cool before slicing. Move the pie to a wire rack and let it cool for at least 3 hours. This is the hardest step in the whole recipe, and Grandma enforced it without mercy. A pie sliced too soon will taste wonderful and look like soup. A rested pie slices into clean wedges with the apples settled in their sauce, and it is worth every minute of the wait.
Grandma’s Tips
Keep everything cold, including your patience. If the butter starts to feel soft or greasy at any point, stop and chill the dough for 15 minutes. The refrigerator fixes almost every pie problem before it starts.
Roll from the center outward, never back and forth like you are ironing. Long pushing strokes stretch the dough in one direction and make it shrink unevenly in the oven.
Taste a raw apple slice with a pinch of the sugar mixture before you fill the pie. Apples vary a lot through the season, and you may want a spoonful more sugar for very tart fruit or a squeeze more lemon for very sweet fruit. Grandma adjusted every pie to the apples in front of her, and you should too.
If your apples give off a great deal of juice while they rest, that is fine — pour it over the filling as directed. But if the bowl looks like soup, hold back a few spoonfuls. You can simmer the extra juice in a small pan for two minutes and brush it over the warm pie as a glaze.
Keep a small dish of flour beside you while you roll, and dust the pin, not just the counter. A rolling pin that carries its own light coat of flour glides instead of dragging, and you will use less flour overall — which matters, because every extra handful worked into the dough is a little more toughness in the finished crust.
Finally, bake the pie where you can see it. A pie that is quietly bubbling and deeply golden is done; a pale pie is never done, no matter what the timer says.