5 Honey Face Mask Recipes for Every Skin Type
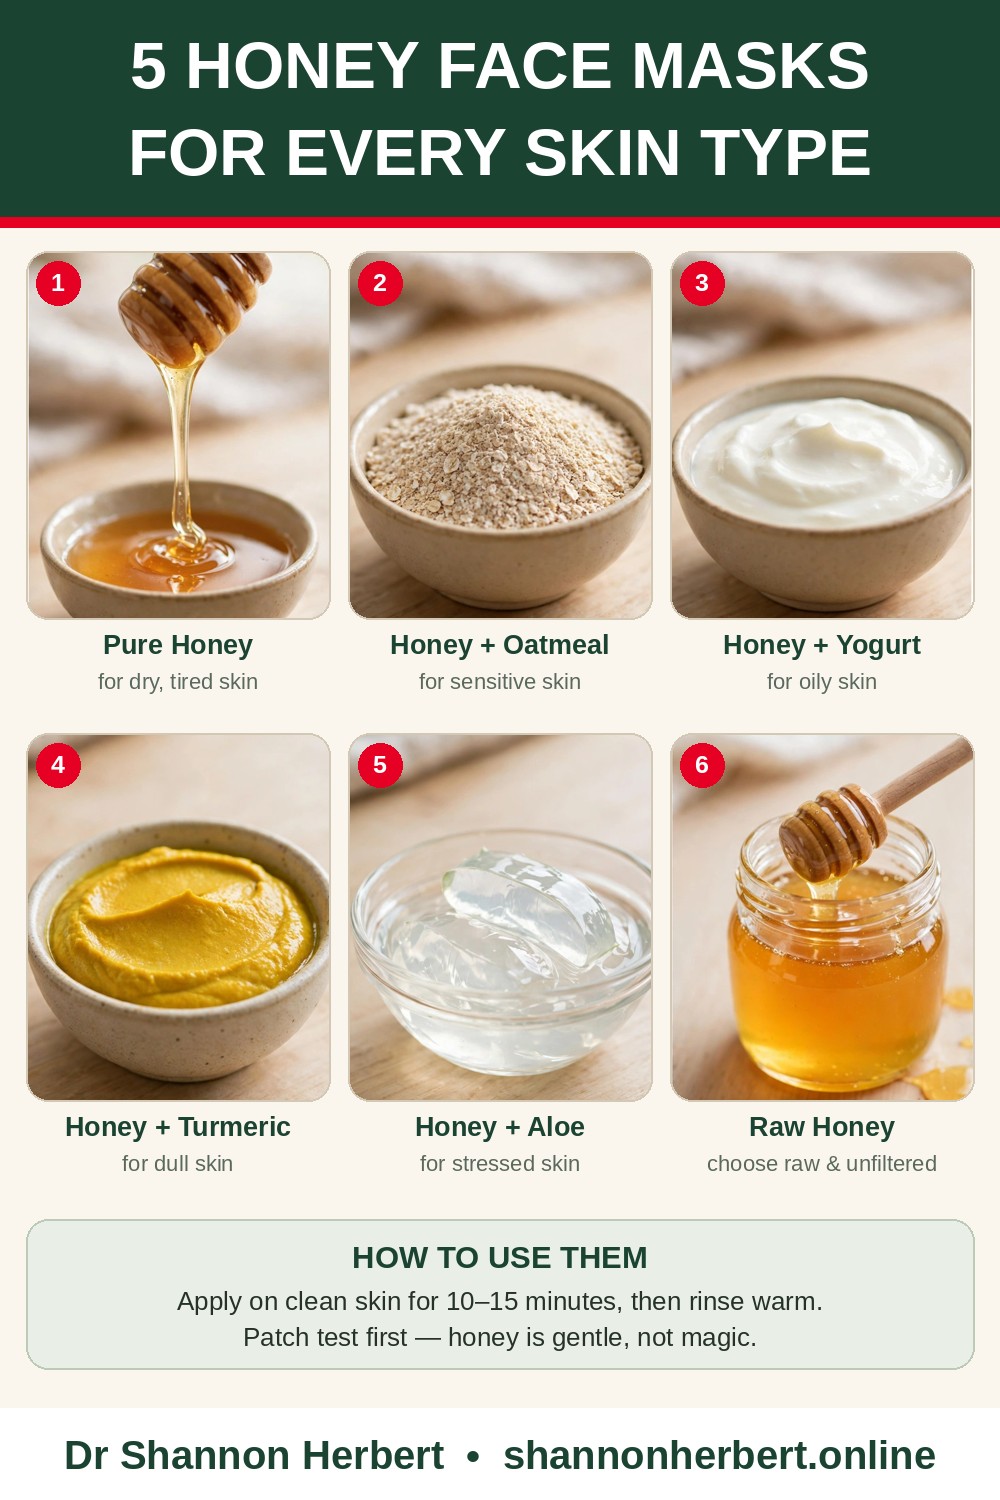
Honey might be the hardest-working jar in your kitchen. It sweetens tea, soothes a scratchy throat in a warm drink, and — as generations of home remedy lovers have discovered — it makes a wonderfully simple face mask. If you have ever stood in a store aisle reading the long ingredient list on a face mask tube and wished for something simpler, honey is your answer: one ingredient, straight from the jar, ready in seconds.
Honey has been used on skin since ancient times, long before modern cosmetics existed. Today, many people use honey masks because honey is a natural humectant, which means it draws moisture toward the skin and helps it stay there. That is why skin often feels soft and comfortable after a honey mask instead of tight or squeaky. Raw honey is the most popular choice for masks, because it has been processed the least.
Honey’s place in skincare is not a new fashion. Jars of honey were placed in Egyptian tombs, Greek athletes and Roman bathers used honey preparations on their skin, and in many households today a grandmother still keeps a jar in the bathroom cabinet as faithfully as in the kitchen. What has changed is not the remedy but our understanding of why it feels so good: honey naturally attracts and holds water, which is exactly what dry, tired skin is asking for.
This guide gives you five honey mask recipes, matched to different skin types and moods. Every one of them uses ingredients you probably already own. If you enjoy remedies built around this one golden ingredient, you might also like our honey and garlic tonic, which uses honey in a completely different, old-fashioned way.
Why Honey Works So Well as a Mask Base
A good mask base needs to do three things: stay on your face without dripping, feel comfortable for ten or fifteen minutes, and rinse away cleanly. Honey does all three. Its thick, sticky texture means it will not slide off. It feels warm and soothing rather than tight as it sits. And it dissolves completely in warm water, so removal is easy.
Honey also plays well with other ingredients. It calms down strong additions like turmeric, carries powdered ingredients like oatmeal smoothly, and softens the feel of clay or flour-based masks. That versatility is why honey shows up in so many of the remedies in our collection of natural remedies you can make at home.
A quick note on choosing honey: for face masks, raw or minimally processed honey is the usual recommendation. Regular supermarket honey will still work as a moisturizing mask, so do not let a missing “raw” label stop you. What matters most is that it is real honey, not a honey-flavored syrup.
Choosing the Right Honey for Your Skin
Walk down a honey aisle and you will see more choices than you expected. Here is how to pick without overthinking it:
Raw honey is honey that has not been heated or finely filtered. It is thicker, sometimes cloudy or crystallized, and is the traditional first choice for masks because it is the least processed. If it has crystallized in the jar, that is normal — stand the jar in warm water for a few minutes and it will soften.
Manuka honey comes from New Zealand and Australia and is famous — and priced accordingly. It is genuinely well studied for wound care, but for a weekly moisturizing face mask, a good local raw honey does the job at a fraction of the cost. Save the manuka for your tea if you enjoy it.
Regular processed honey (the clear, pourable kind) still works as a mask. It has been heated and filtered, so it may contain fewer of the natural compounds purists look for, but its moisture-drawing quality — the main event for a mask — is still there.
What to avoid: anything labeled “honey syrup,” “honey-flavored,” or blended with corn syrup. Check the ingredients: it should say honey, full stop. Also avoid strongly scented or infused honeys (lavender, chili, and the like) for your face — the additions are for eating, not for skin.
Whichever you choose, keep a small dedicated jar for skincare if you like. It saves sticky trips between bathroom and kitchen, and nobody has to wonder why the tea honey has a spoon mark shaped like a face mask session.
Before You Begin: The Golden Rules of Honey Masks
- Start with a clean face. Cleanse gently and pat dry, leaving skin very slightly damp — honey spreads more easily on damp skin.
- Always patch test first. Dab a little honey (or your mixed mask) on the inside of your wrist or behind your ear and wait 10 to 15 minutes. If there is burning, itching, or strong redness, do not use it.
- Never give honey to babies under 12 months — that rule is about eating honey, but it is worth repeating in any honey guide. For adult skin use, honey is generally well tolerated, except by people with a bee or pollen allergy, who should skip it.
- Tie your hair back. Honey is sticky. A headband will save you a shampoo.
- Relax while it works. Ten to fifteen minutes is the standard time for all five recipes below.
Recipe 1: Pure Honey Mask — For Dry and Tired Skin
This is the simplest mask in the world, and for dry skin it is often the best.
Ingredients:
- 1 tablespoon raw honey
How to:
- With clean, slightly damp skin, warm the honey between your fingertips for a few seconds so it spreads easily.
- Smooth a thin layer over your face and neck, avoiding the eye area.
- Rest for 15 minutes. The honey will stay glossy and will not dry hard.
- Rinse with lukewarm water, massaging gently in circles.
- Pat dry and moisturize as usual.
Dry skin tends to love this mask because honey’s moisture-drawing quality leaves the surface feeling cushioned rather than stripped. Once a week is a comfortable rhythm for most people.
Recipe 2: Honey and Oatmeal Mask — For Sensitive Skin
Oatmeal is the classic comfort ingredient for easily irritated skin, and paired with honey it makes a soft, calming paste.
Ingredients:
- 1 tablespoon raw honey
- 1 tablespoon finely ground oatmeal (blend plain oats into a powder)
- 1 teaspoon warm water or milk, if needed to loosen the paste
How to:
- Mix the honey and oatmeal into a thick paste.
- Apply a generous layer to clean skin, avoiding the eyes.
- Leave for 10 to 15 minutes.
- Rinse with lukewarm water, using the oatmeal’s gentle texture as a very soft polish — no scrubbing.
- Pat dry and moisturize.
Sensitive skin types often prefer this version because both ingredients have long, gentle track records. It is also a lovely choice after a windy or cold day, when skin feels a bit raw.